
Welcome to RAD! The best way to learn RAD is to start with a new project containing, for example, some finished JPEG photos from your last wedding or portrait session.
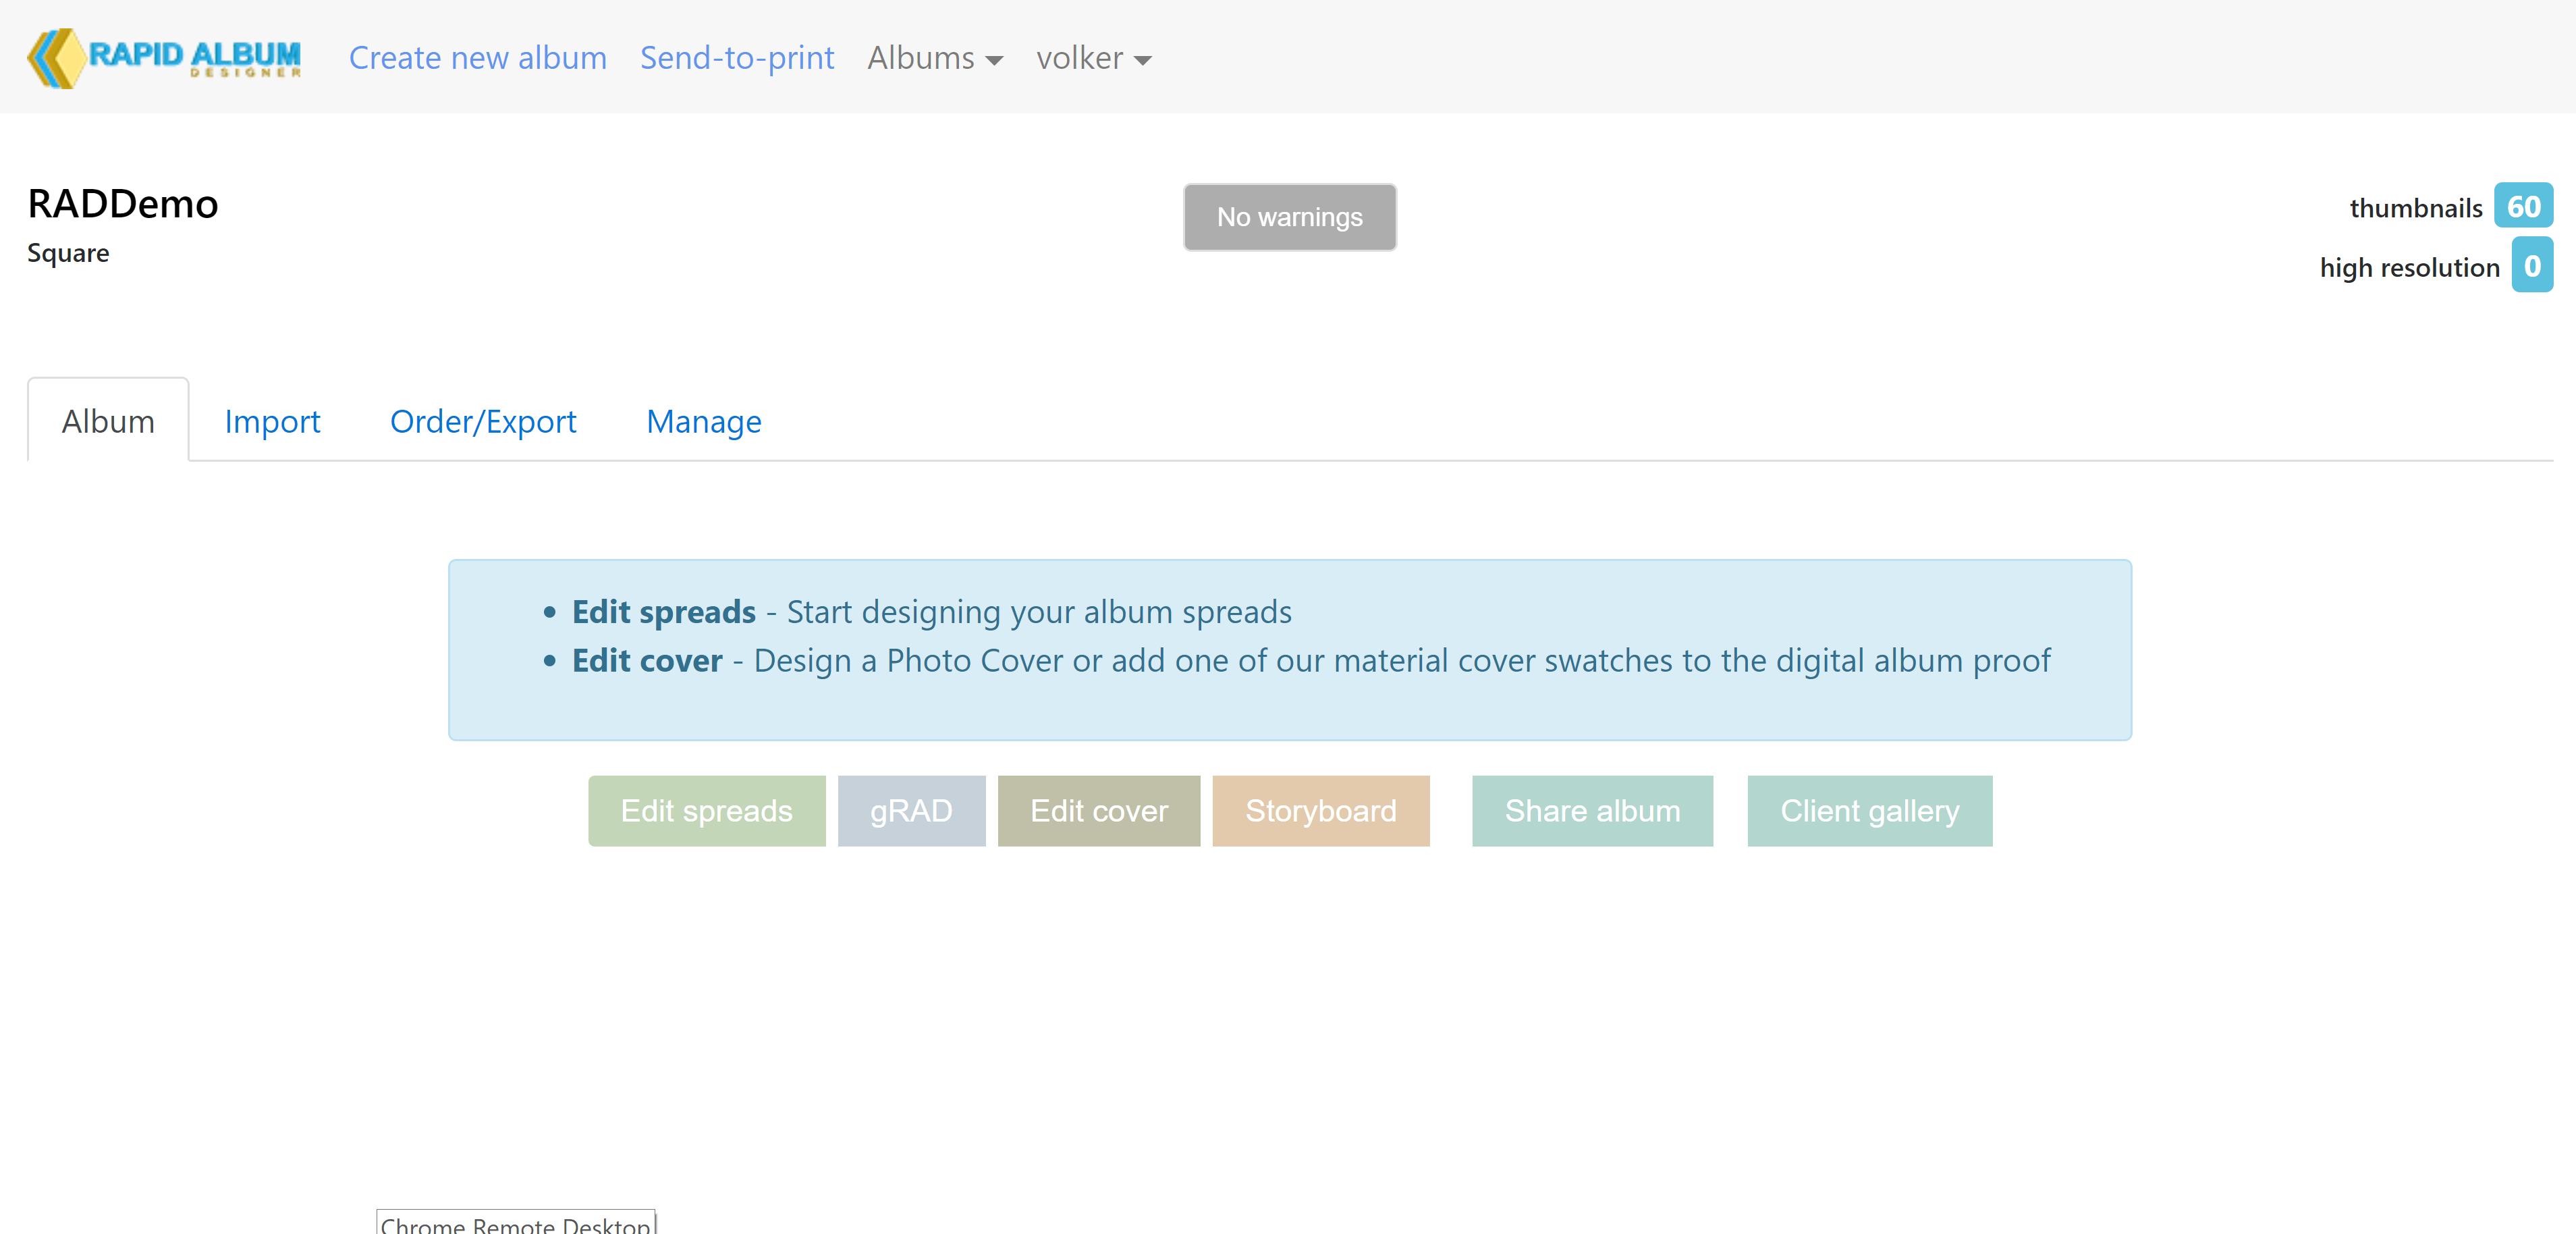
After you log in, you will find yourself in RAD’s manager.
-
- Click on “Create new album project” and choose a format. We recommend square!
You only have to give the new album project a name, not a size – this is decided later. - Start simple by importing a few dozen photos.
- Click on “Create new album project” and choose a format. We recommend square!
Note: you can always come back and import more photos later!
Click on “gRAD” and test the auto layout function visible only in the very beginning of your project!
The “Edit spreads” button opens our first version of the designer wich works really smooth on a tablet or mobile. Those 2 options are fully compatible with each other, feel free to test both.
Spend 15 minutes to watch the gRAD tutorial below and enjoy designing your albums in the future.
With gRAD’s unique spread overview you can design your albums in record time – but you need to learn the tools!
- Click on “Save & Exit” which takes you back to the manager where you can flip through your spreads.
- Click on “Share album” and impress your friends by sending them the link
So far, everything you’ve done is completely free!
We hope you like the fast and easy workflow. Many of our photographers use RAD to quickly design an album and surprise their clients with an electronic flipbook a few days after the event, often leading to an unexpected income.
Since 2019 you can order good quality, inexpensive photo-books directly whiting RAD, please check out this link to learn more: RAD Base albums
If you have any problems, first look at our FAQ. If that doesn’t help, don’t hesitate to contact us.
For information about the latest developments and updates feel free to join our FB group
Happy editing!